
Explore the finish
Epoxy Floor Samples & Systems
Start with the type of floor you want, then use the live system guides to understand the layers, trade-offs and project-planning questions.
Choose Your Floor System
Choose your floor system
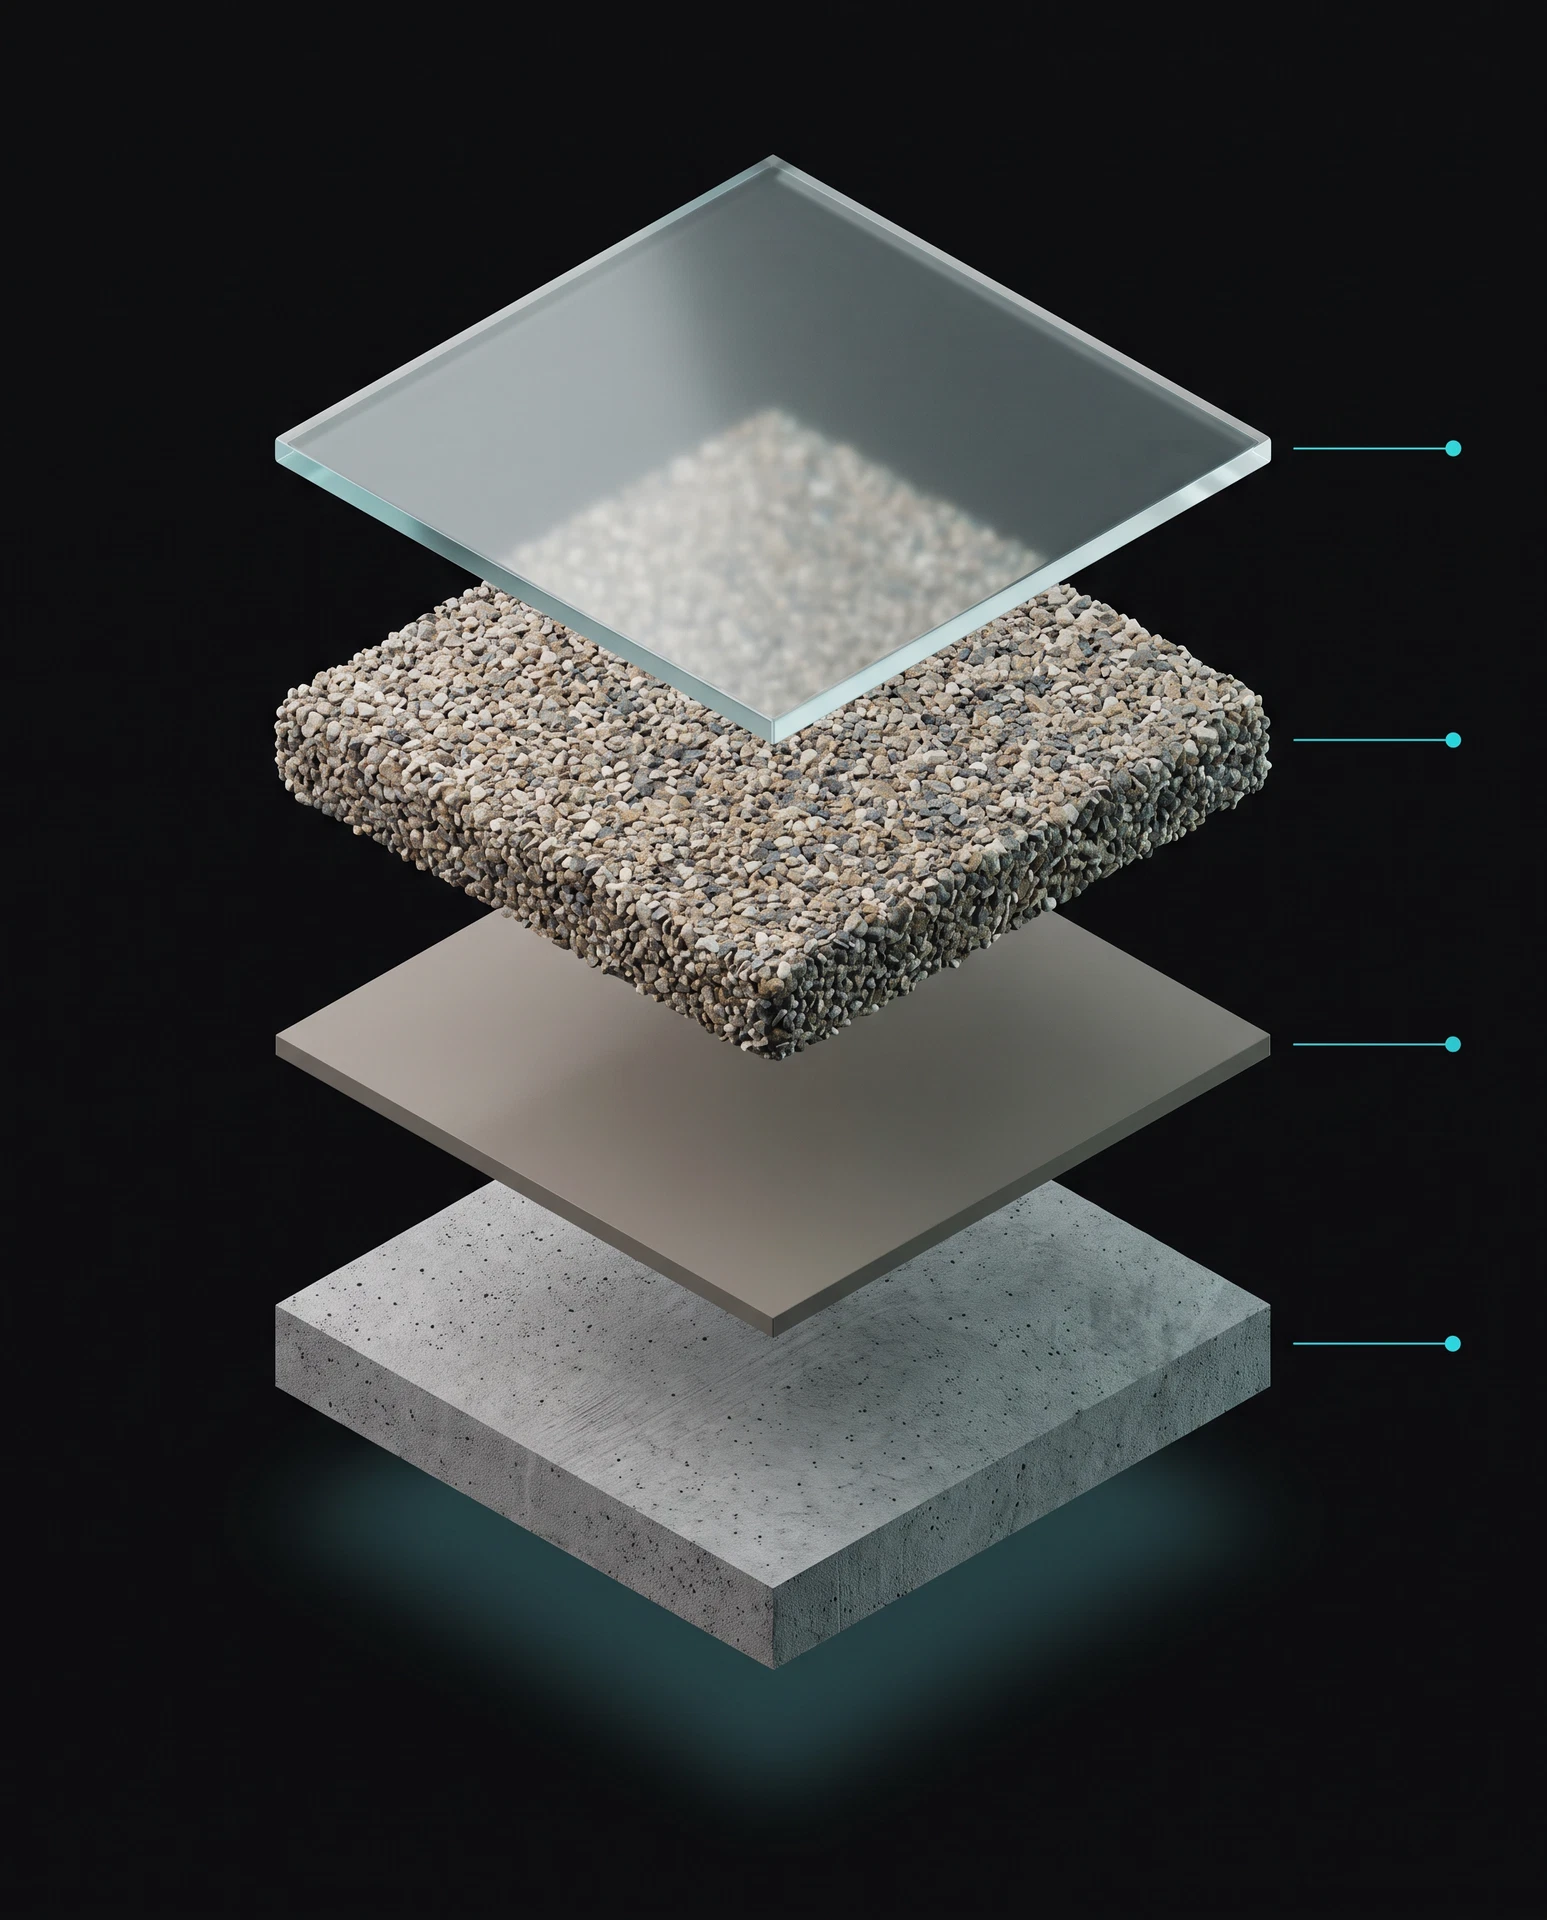
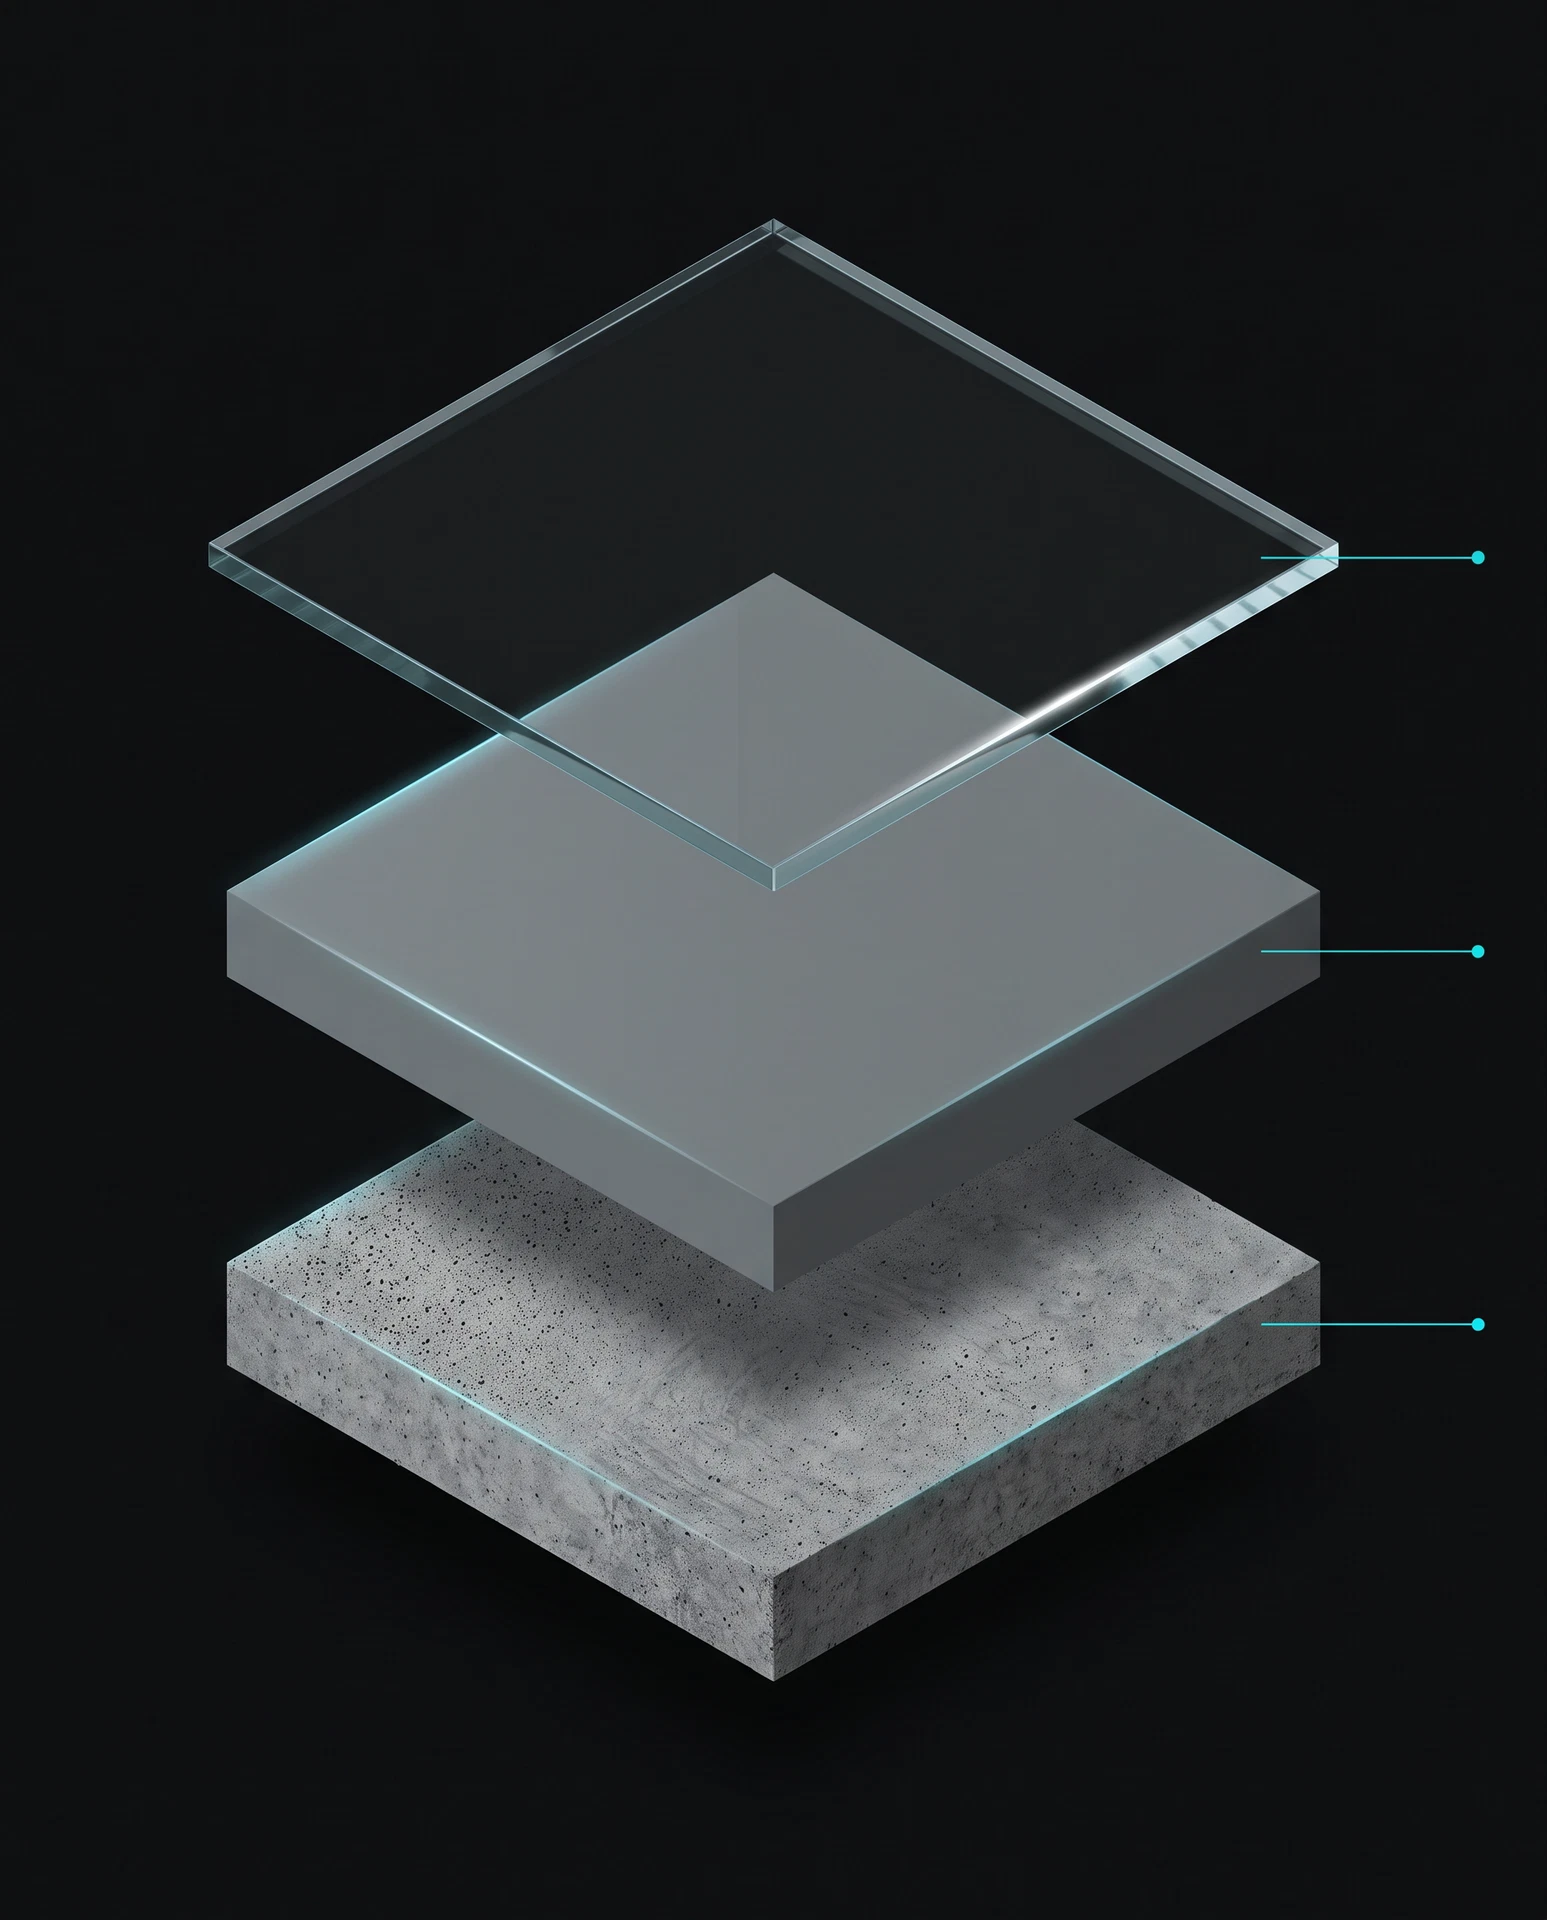
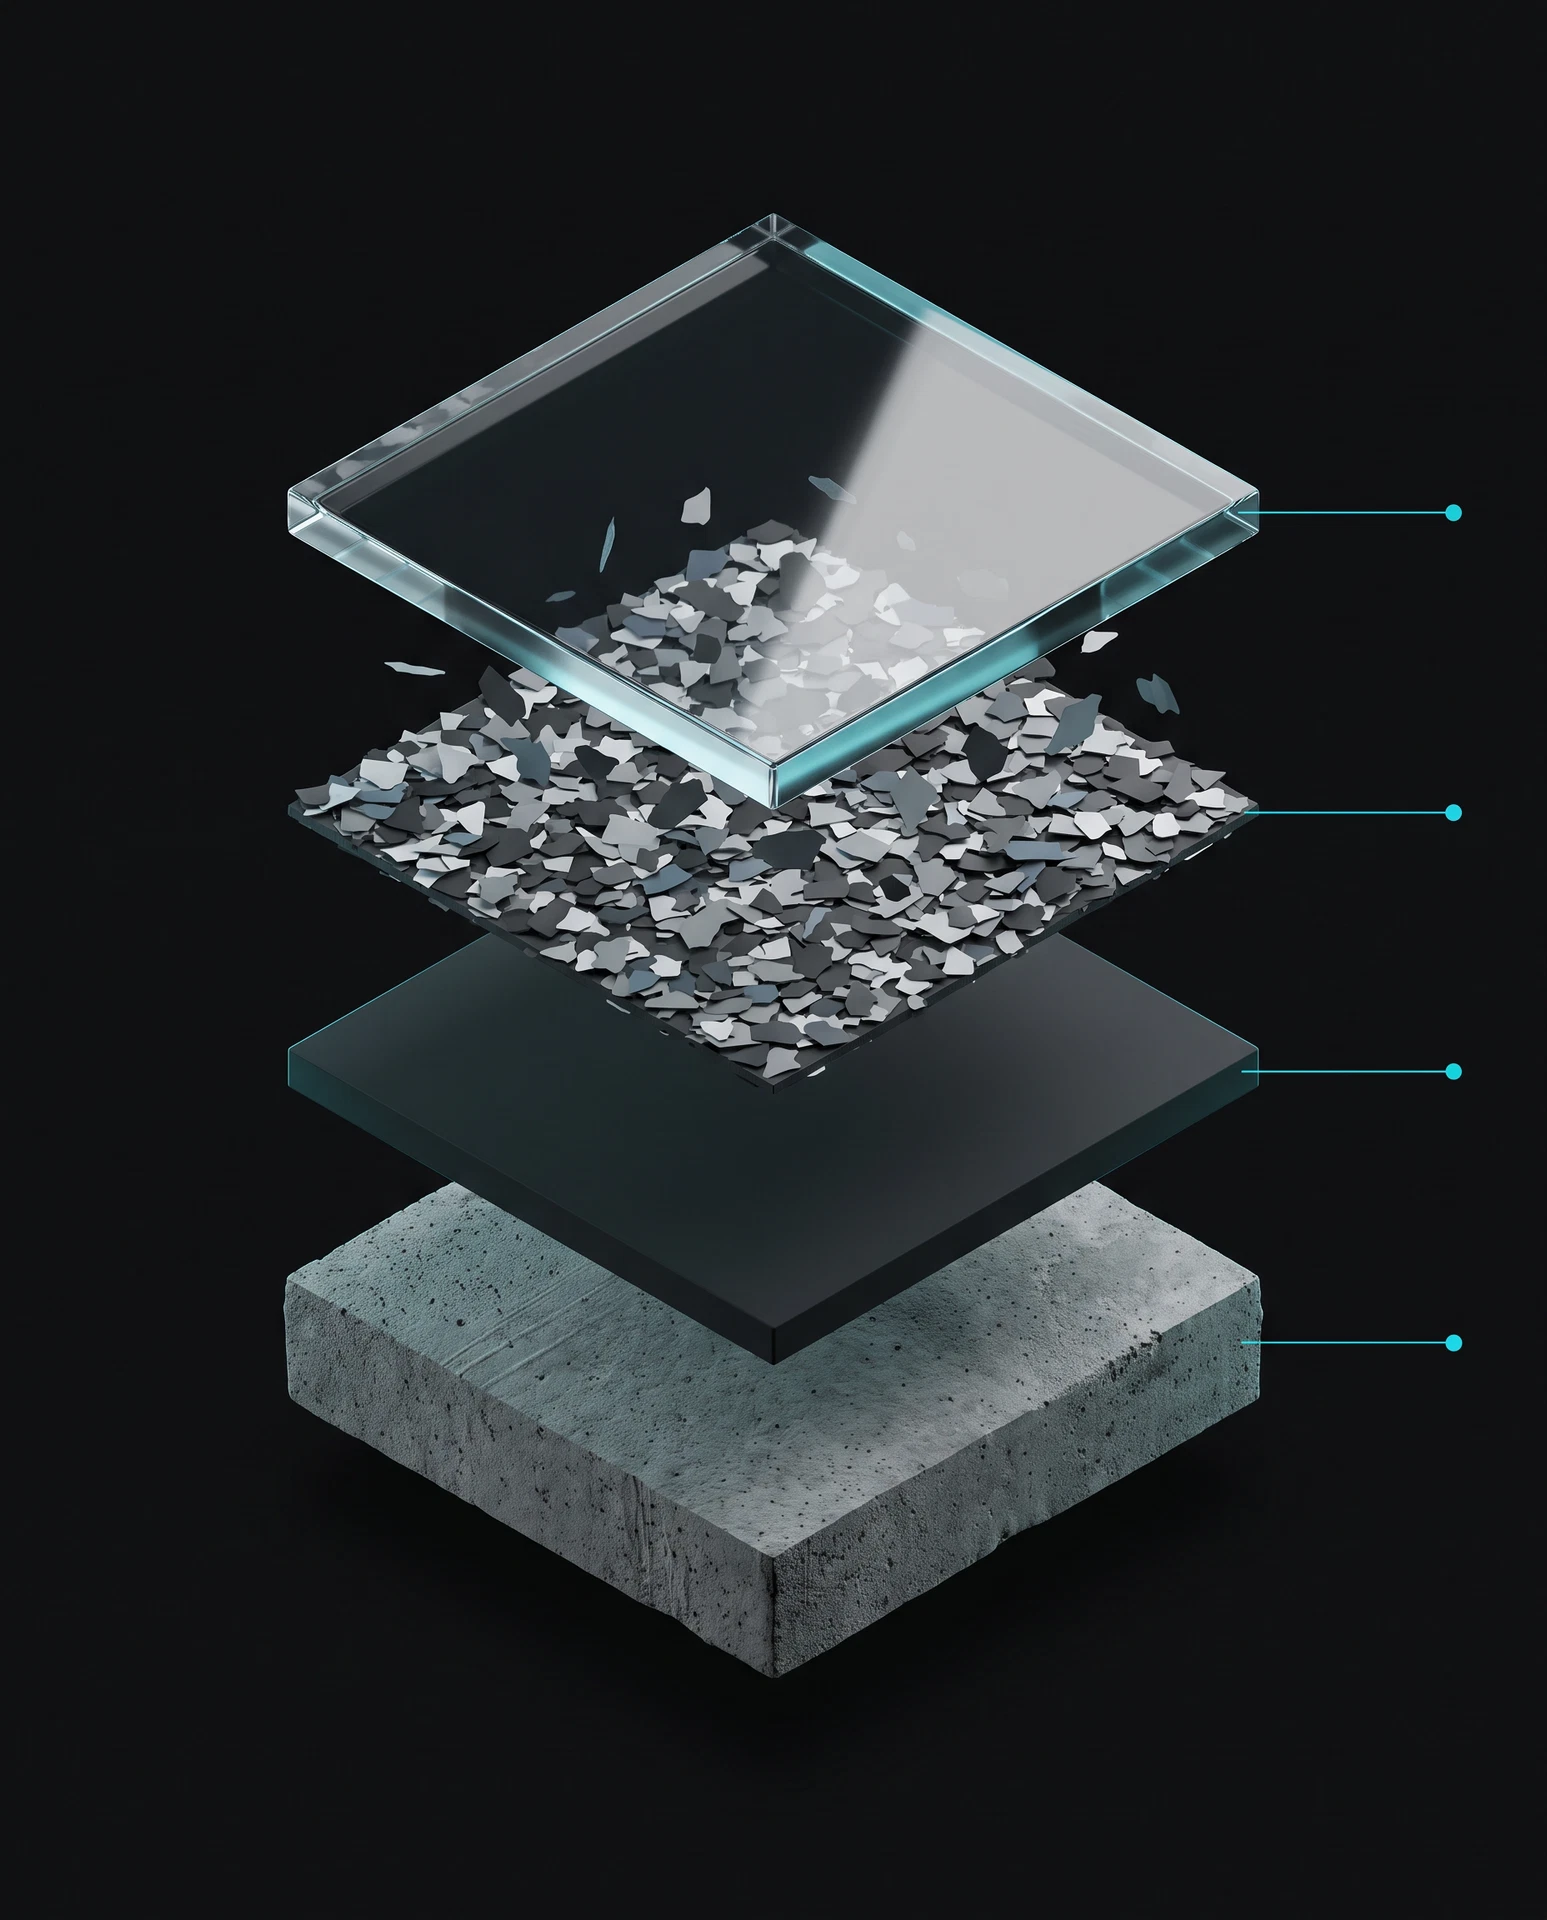
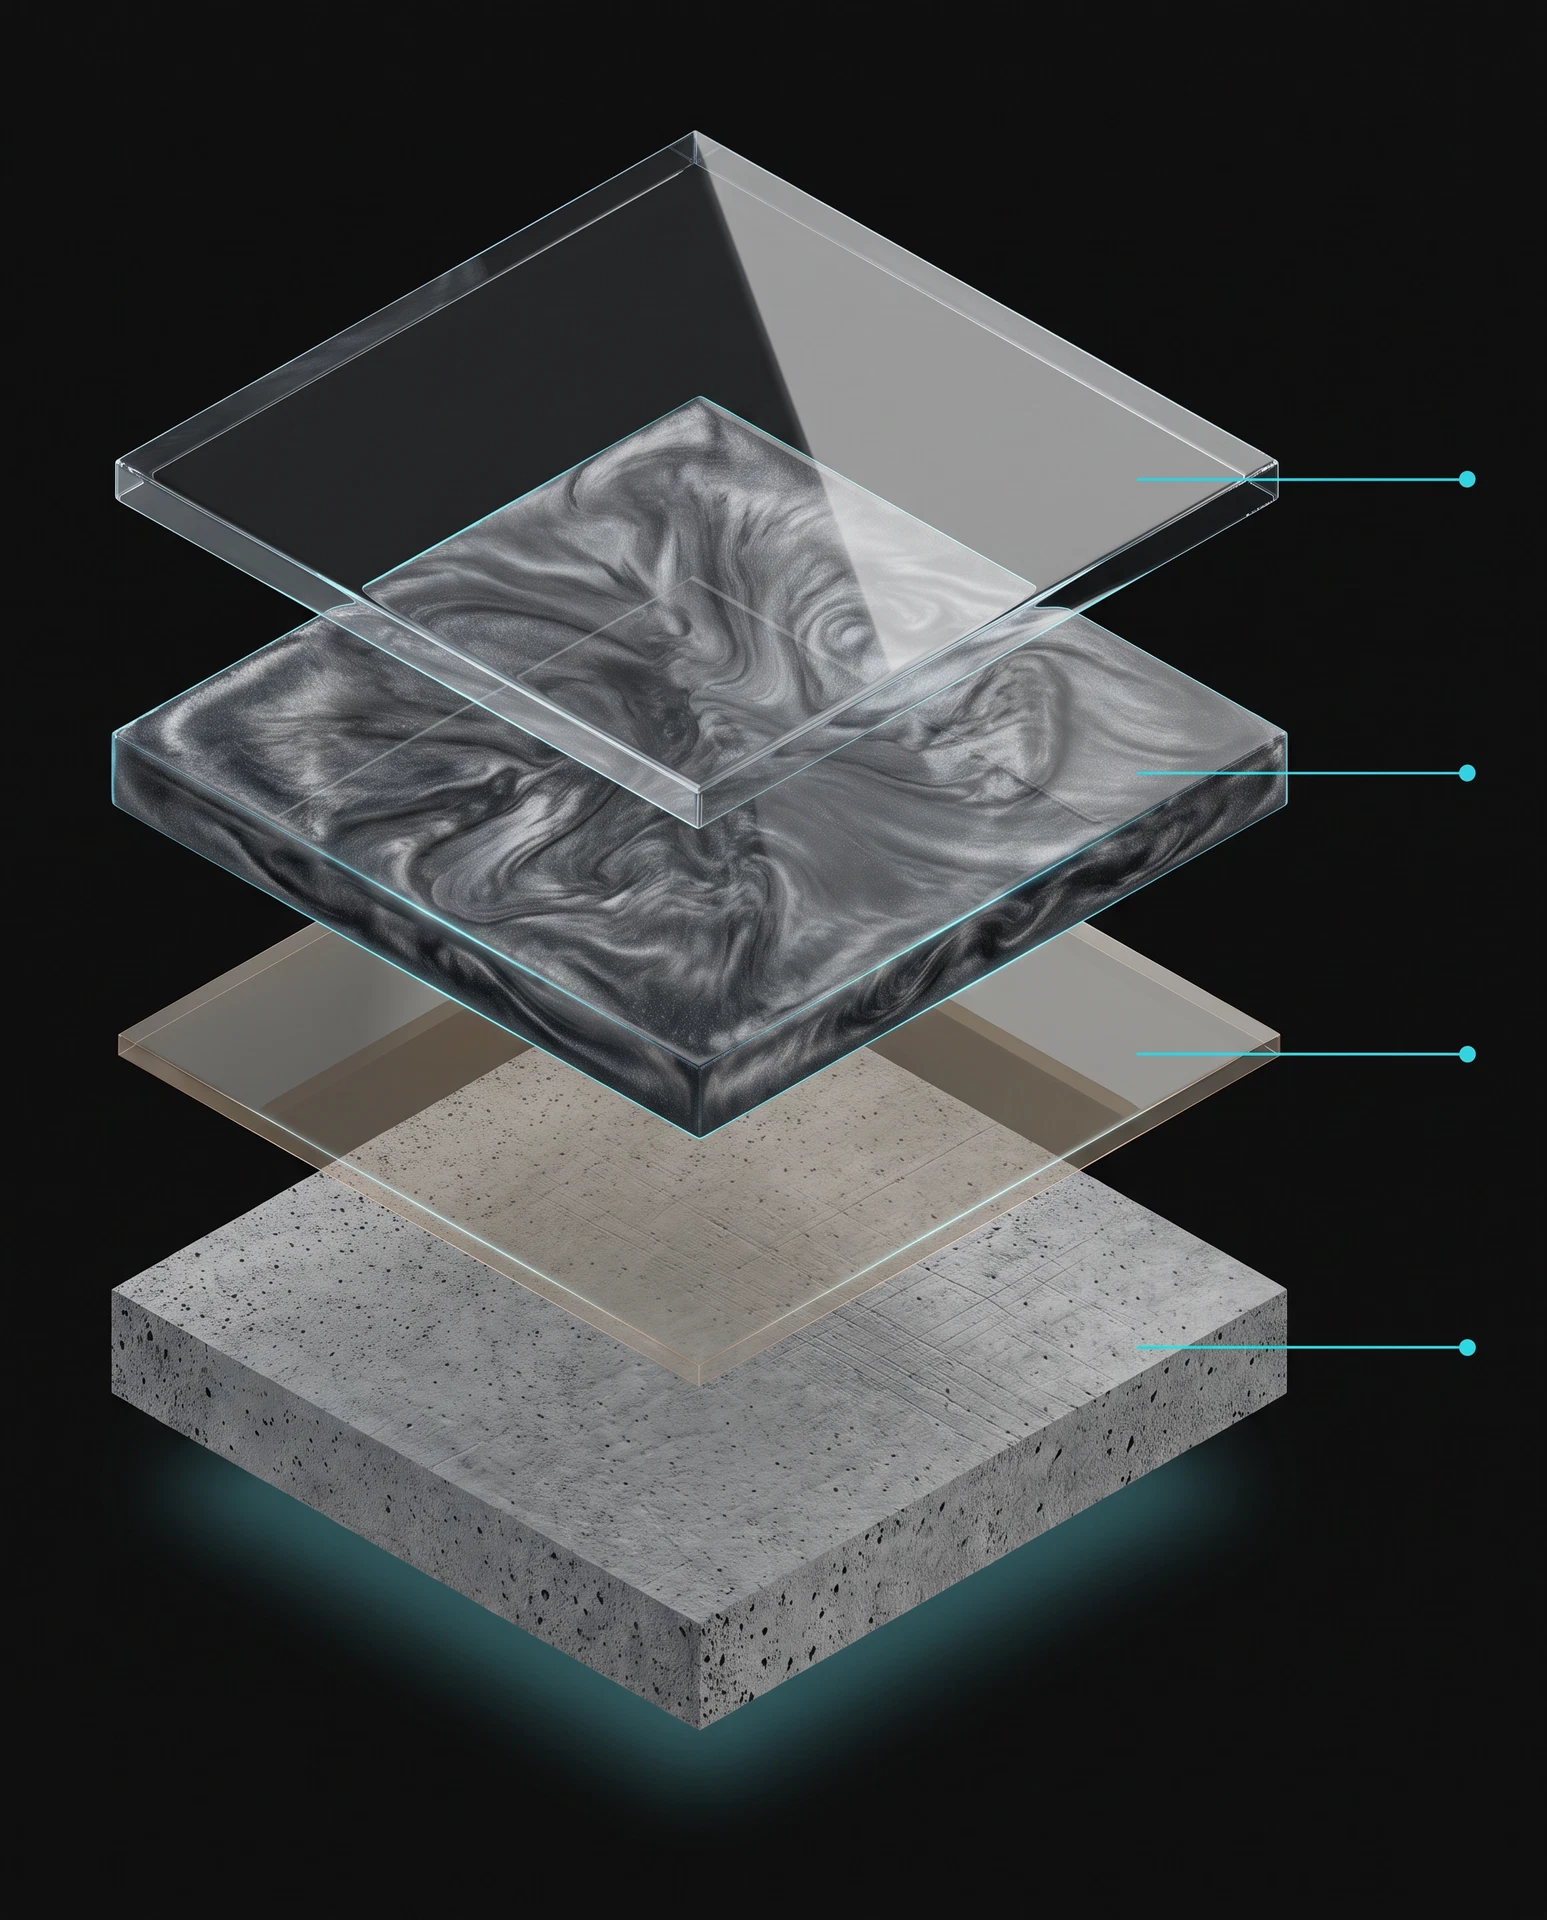
Build-up · top to bottom
- Clear gloss polyaspartic
- Metallic pigment body coat
- Penetrating primer
- Diamond-ground concrete
Pigment is moved by hand while the resin is still live, so every pour carries its own current of depth and reflection. No two floors resolve the same way.
Showrooms · Salons · Retail · Feature interiors
View MetallicMetallic system layers
How the metallic build works.
Read this metallic flooring build from the finished surface down to the prepared concrete.
- 01
Clear gloss finish
Clear polyaspartic finish layer
Forms the clear finished surface over the metallic body coat.
Why it matters: It keeps the visual movement below as the visible design layer rather than the wear surface.
- 02
Metallic pigment body coat
Pigmented resin body coat
Creates the depth and hand-worked movement associated with a metallic finish.
Why it matters: This is the layer that establishes the floor’s individual visual character.
- 03
Penetrating primer
Concrete primer
Supports the transition from prepared concrete into the resin build.
Why it matters: A sound bond below the visual layers helps the complete system work as one assembly.
- 04
Prepared concrete
Mechanically prepared concrete substrate
Provides the clean, profiled slab the coating system is built over.
Why it matters: The finish above can only follow the condition and preparation of the concrete beneath it.
How to read a system
The visible finish is only one part of the build.
The exact materials and sequence depend on the slab, use and selected finish. These stages explain the role each layer can play without presenting a generic system as a project specification.
- 01
Prepared concrete
The existing slab is reviewed and prepared before the coating conversation becomes a finish decision.
- 02
Selected base layer
The base stage is chosen as part of the complete system for the concrete and intended use.
- 03
Visual or broadcast layer
Where applicable, this stage creates the texture, colour or movement that the finished floor is known for.
- 04
Final protective layer
The final stage is selected with the overall build, finish and real operating conditions in view.
Finish & technology guides
Go deeper before you compare.
Decorative Flake
A broadcast finish for garages, workshops and selected commercial interiors.
Read guide →Quartz Flooring
A granular broadcast system for active spaces and technical visual character.
Read guide →Metallic Flooring
A design-led finish for feature spaces where the floor is part of the room.
Read guide →Polyaspartic Topcoat Technology
A coating-technology discussion that includes preparation, compatible build layers, finish direction and scheduling.
Read guide →Urethane Coatings & Topcoats
A topcoat and system-role guide for projects comparing resinous finish layers.
Read guide →Choosing a System
A buyer guide that connects the slab, room use and full system selection.
Read guide →Epoxy vs Polyaspartic
Compare two resin chemistries in context with preparation, timing and finish.
Read guide →Garage Flooring Guide
Organize vehicle, storage, workshop and concrete questions before selecting a path.
Read guide →Commercial Flooring Guide
Use traffic, cleaning, access and staging to prepare a commercial scope.
Read guide →Flake vs Quartz
Compare broadcast systems through finish direction, use and preparation.
Read guide →Surface Preparation
Understand why the slab and preparation lead every resinous system decision.
Read guide →Floor Maintenance
Review maintenance questions in the context of the installed system and facility routine.
Read guide →
Request a free quote